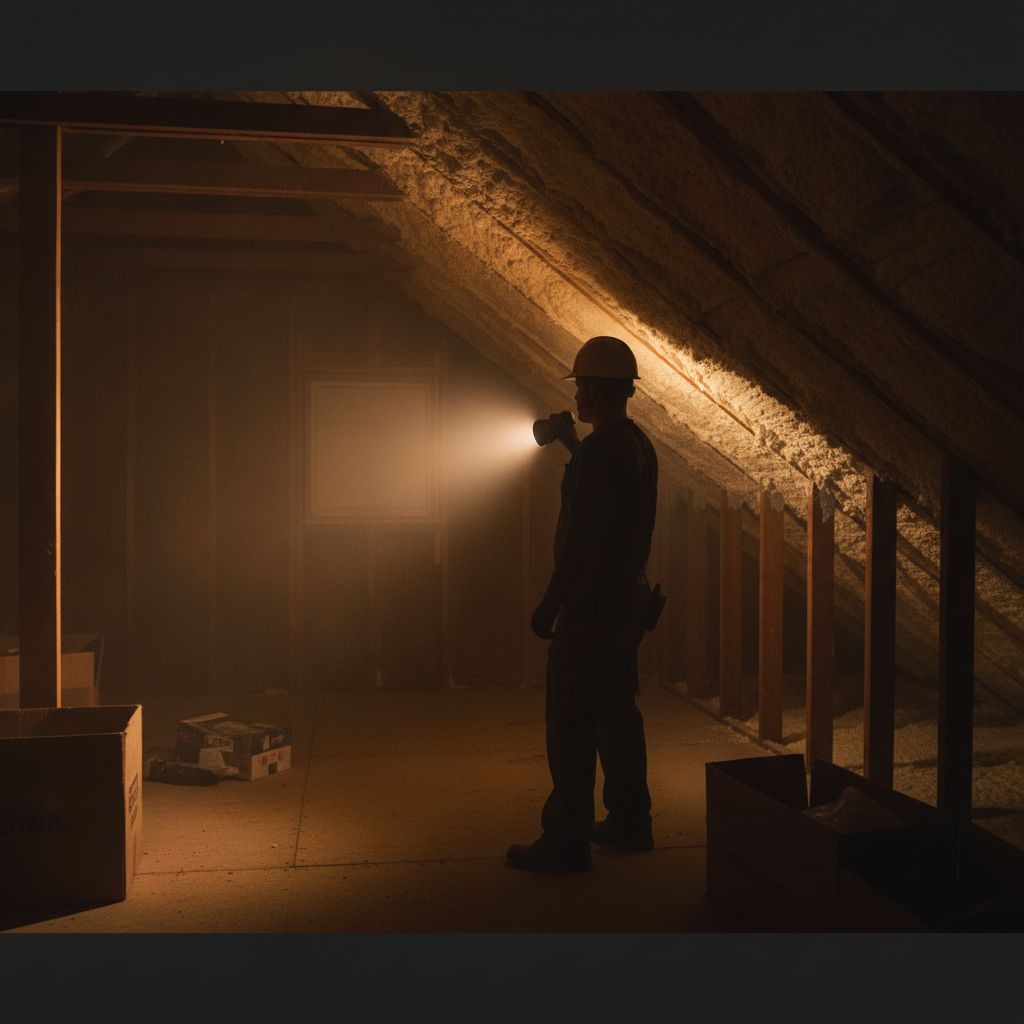
Before You Hire Anyone: A Documentation Checklist
Whatever comes next — a warranty claim, a second opinion, hiring a remediation contractor — good documentation gathered now makes every part of that process faster and more credible. Here's a practical, step-by-step version of what to actually do.
Step 1: Photograph the Affected Area Thoroughly
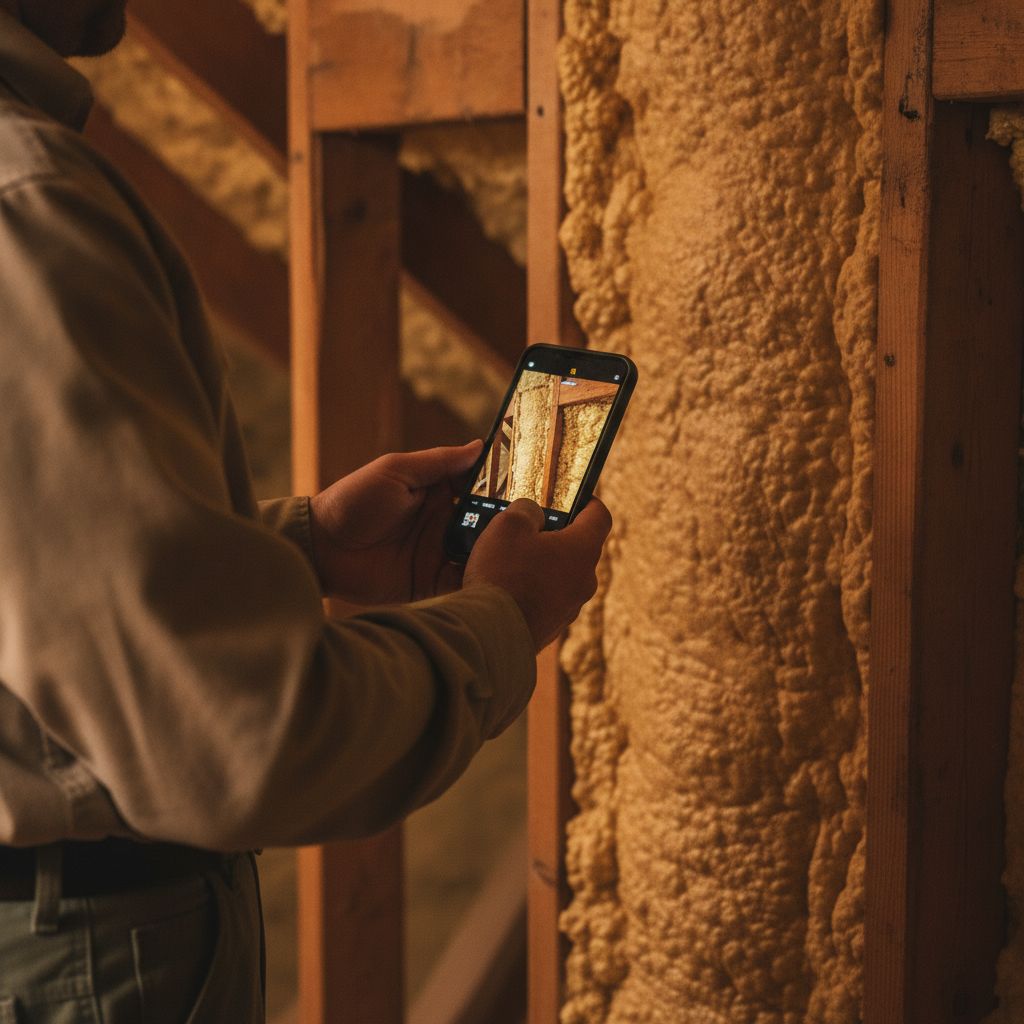
Start wide, showing the general location (which room, which section of attic or wall). Then move to close-up shots of any specific defect — visible gaps, discoloration, texture that looks different from surrounding foam. Include something for scale in at least one close-up shot of any defect, and use good lighting rather than a flash that washes out texture detail. Your phone's camera automatically embeds a timestamp in the photo file's metadata even if it's not visible on screen, which is useful for later reference.
Step 2: Write Down the Timeline While You Still Remember It
Note the installation date if you know it, when you first noticed anything unusual, and whether it's changed since (better, worse, the same). If anything specific happened before the issue started — a storm, a plumbing repair, an HVAC change — write that down too. This kind of detail is easy to remember clearly right now and surprisingly easy to lose track of a few weeks into dealing with the situation.
Step 3: Locate Your Original Paperwork
Find the original installation invoice or contract (it often specifies the product and manufacturer used), any warranty documentation, and the installing contractor's name and contact information. If you have photos from during or right after the original installation, locate those too — they're a useful before-and-after reference.
Step 4: Get a Baseline Moisture Reading If You Can
An inexpensive consumer moisture meter can give you a baseline reading near the area of concern. This isn't a substitute for a professional assessment, especially behind closed-cell foam where a more capable meter and real interpretation experience matter, but it's useful context to have gathered before anyone else looks at it.
Step 5: Note Any Odor Specifics
If odor is part of what's concerning you, note when it's strongest (time of day, weather conditions), whether it's gotten stronger or weaker over time, and how you'd describe it — this level of detail is more useful to a professional than "it smells chemically."
Why This Order Matters
Doing this before you make any calls means you walk into every subsequent conversation — with an installer, an inspector, a warranty department — with concrete, dated information instead of a vague description reconstructed from memory. It also genuinely improves the quality of whatever diagnosis or second opinion you get, since specific documented evidence gives a professional far more to work with than "it looks wrong and smells bad."
Get a second opinion once you've gathered this — it'll make the conversation faster and more useful for both of us.